I bought this kit when I was in Disneyland way back in January of this year. Never had the time to do it until now. When I bought it, the number of pieces exceeding 500 piece gave me an indication the amount of time needed to complete this project.
This weekend was one such weekend that gave me necessary amount of time to attempt assembling this truck.
When you open the box, over 8 large clusters of Lego parts can been seen including the thick instruction manual.

Unfortunately, it was not one or two but in all three thick manuals!!!

Unfortunately, as I was too focus at the job of assembling the truck, I forgot to take pictures of the pieces as it came together. It is only after I've completed the project I started to take photos of the output.
Anyway, building it is quite straightforward. However, if you do get tired, best to stop. Otherwise you may accidentally miss a step. I know because it happened to me.
Below is the output. A very large piece actually.

The doors as well as the bonnet can be opened. You can also see the engine in the engine compartment that has moving pistons and connected to the rear wheels.

The engine compartment in detail. The way the pistons move is just like the real thing.

In the cabin, there is a lever (the red one just on the left of the driver's seat that controls two complications in this model.
On the bar above the head rest is the turning wheel to move the two front wheels.

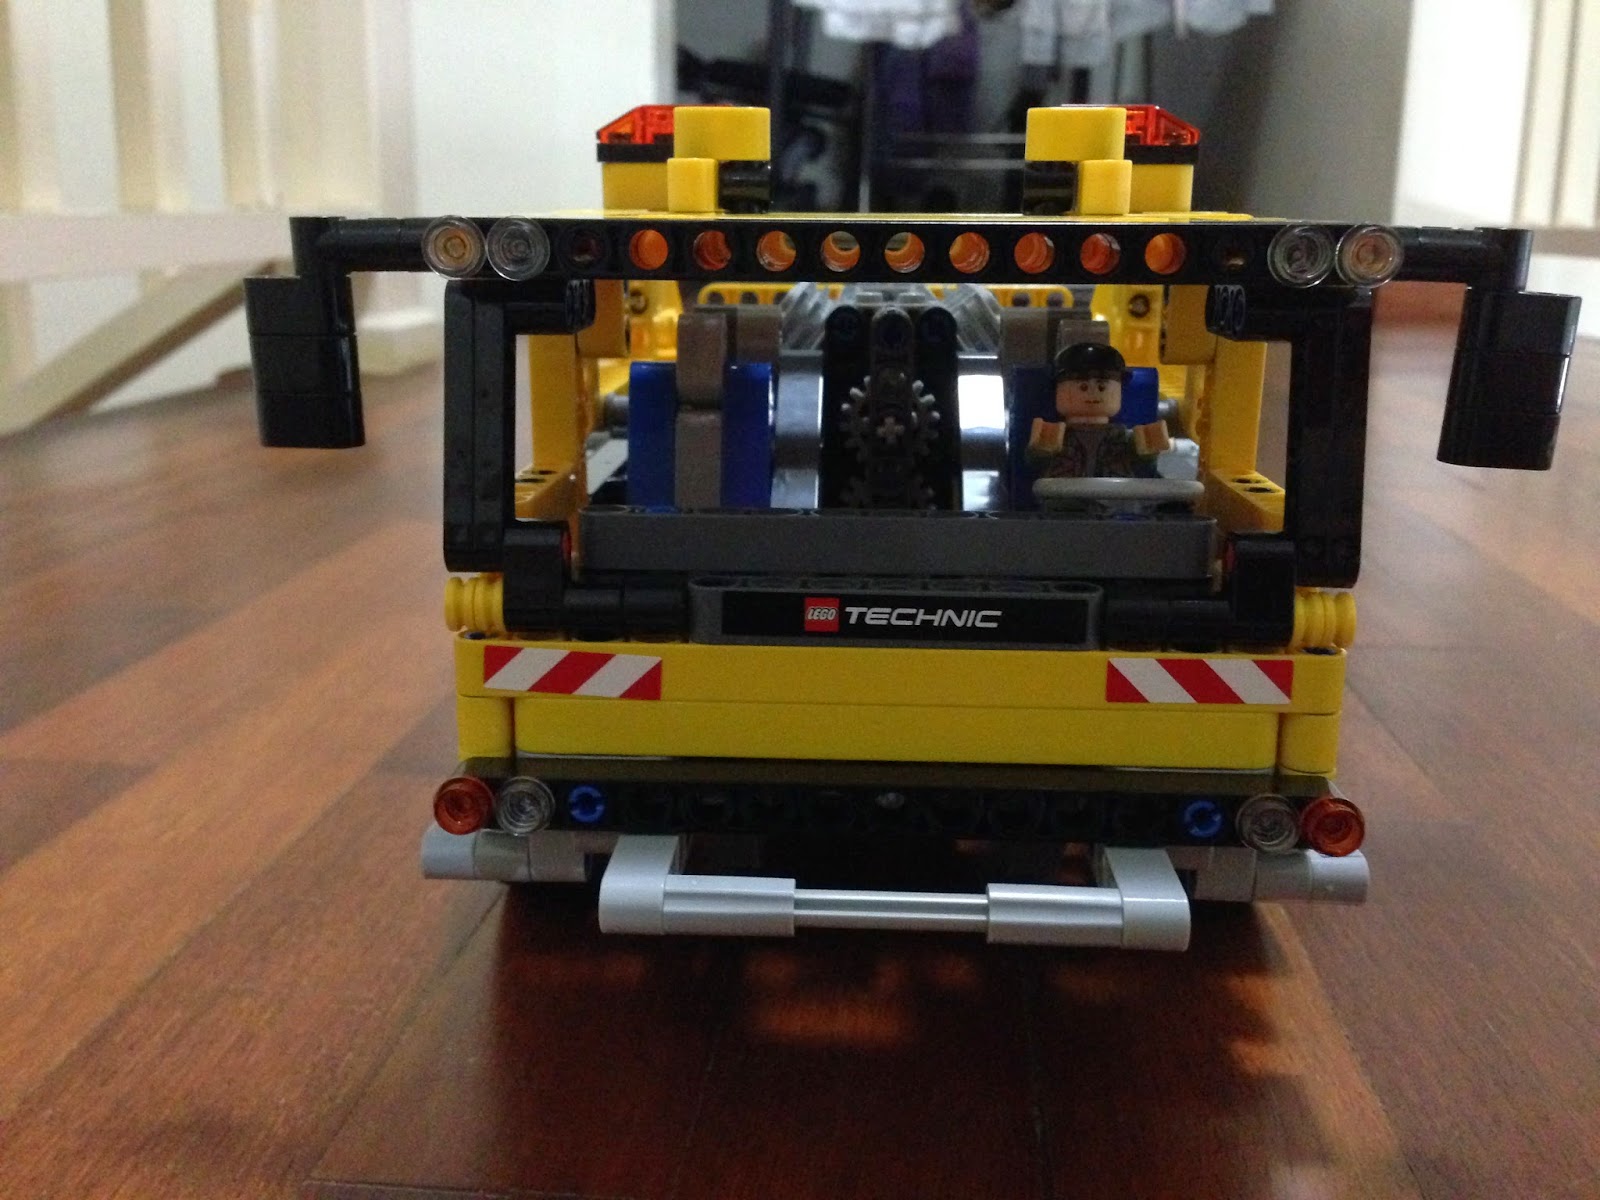
In this photo, the second control wheel just at the end of the 'Technic' sticker controls the lowering and lifting of the tow bars as well as the hook winch.

The tow bar fully extended.

The hook winch mechanism.

I totally enjoyed building this model. I can't wait to get my hands on another project!